So I wanted to do a Turkey shirt for my daughter but since I am a little late in getting it made I made it a pin instead so I can use it again next year. I used felt and ribbon. I really like the way the ribbon looks but I am not too pleased with the face. Anyways there is always next year to perfect it. Here is how I did it:
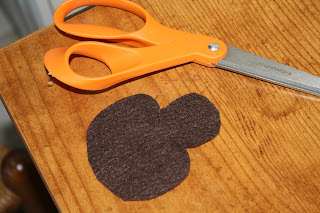
First I cut out two felt turkey bodies. I eyeballed it but you could also use two circle stencils
Next I cut pieces of ribbon and hot glued the ends together.
I then glued the first piece in the middle of the first turkey.
I continued to layer different ribbon to create a fan effect on my first Turkey body
On my second Turkey I cut out felt eyes and beak and glued them on the face.
Finally I glued the second turkey on top of the first Turkey. I attached broach pins to the back so the turkey could be worn with different outfits. My daughter also has a cute brown jumper that will look cute with the turkey as well.


